

In a time when we’re all stuck at home with so much free time on our hands, watching the television is probably one of the best ways to avoid boredom. Not even that, but we can also learn a lot of cool things by watching informative channels, documentaries, or just relax with some funny content after a tough day at work. However, life wouldn’t be life if something doesn’t interrupt our joy, and in times like these, that “something” is often a signal disruption ready to ruin our day.
In today’s article, we decided to focus on something that many of you will hopefully find helpful, especially if the situation we described above is more familiar than you’d like. So, get your creative shirts on and buckle up because we’re going to turn an old satellite dish into a fully-functional TV antenna. Let’s begin.
The basics
If you are wondering if this is possible in the first place, or you’re just curious to learn how it can be done, we’ll be covering everything that you need to know in the following text. Yes, turning a satellite dish into an antenna that can be placed outdoors is a very doable thing, and it’s a lot simpler than you think.
What you’ll need for this is a basic toolbox, a few hours of free time, and an open tech-store that’s near your area so that you won’t have to order parts on the internet and wait for them to arrive. If you think that you got what it takes, let’s begin immediately.
Removing the dish
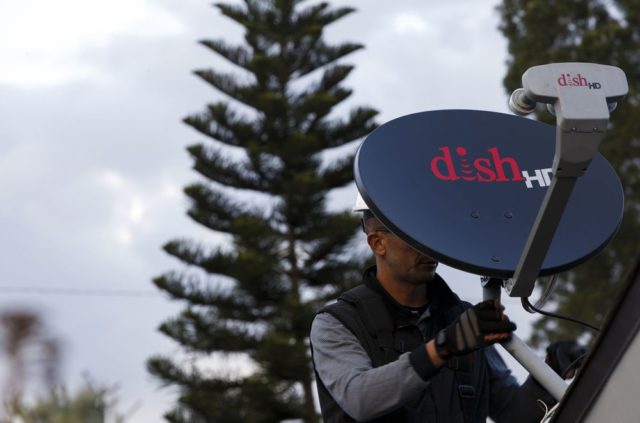
Obviously, the first thing that we need to do is to remove the dish, and there are multiple ways of doing this, but we chose the easiest one, as well as the only one that won’t have any risks associated with it.
Remember that you’ll have to get on top of your roof to do all of this, so if you are an older person, someone who’s injured or you’re just afraid of heights, it might be a better idea to call a professional to take care of this task for you. If you’re comfortable going to the roof, we can proceed.
So, what you need to do now that you’re on the roof, is to remove the dish from the mast, but here’s the catch. You need to keep the mounting bracket of the mast so that you skip the part where you purchase a new one, allowing you to save some money. Removing the dish should be fairly easy, and you can do it by using a wrench.
You won’t be needing the dish anymore, which means that you can throw it away, but we advise you to keep it just in case. Out of all the parts though, the dish is the one that can be damaged in the procedure, the rest you’ll need for later.
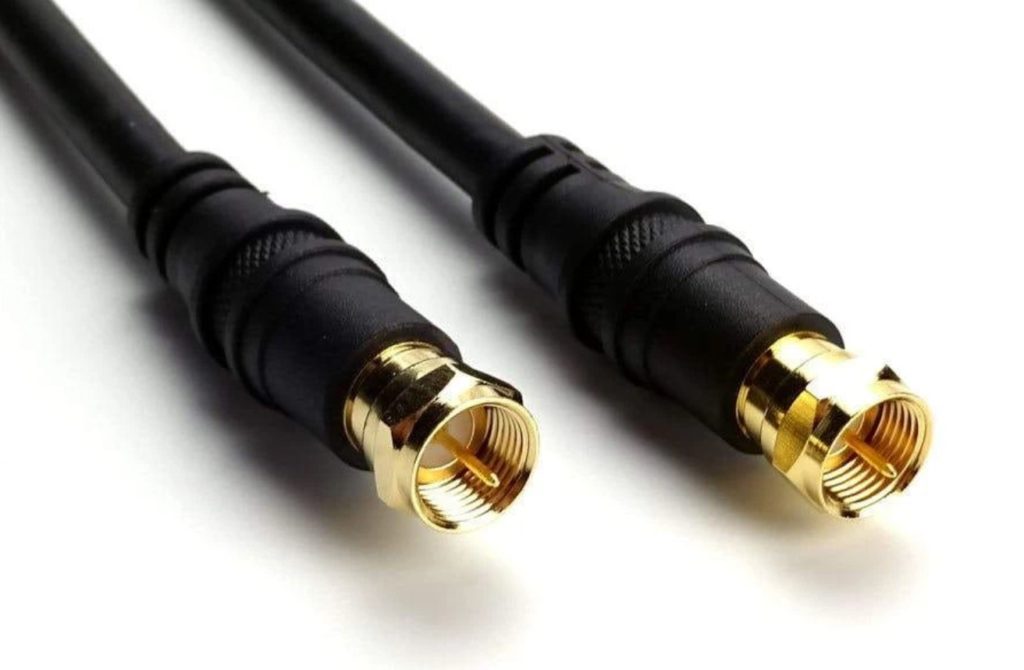
Also, every satellite setup comes with a coaxial cable that goes in the receiver box, and we’d like you to keep that as well. If you’re wondering why, you’re doing this to skip all the hassle of drilling new holes and getting a new cable.
If you want a new dish installed, without risking going up on the roof and letting a team of trained professionals handle the problem, feel free to check out this website.
Discovering the transmitters
You already know that your signal comes from transmitters, so what you need to do next is to try and locate the direction of the nearest transmitter. If you don’t know where they are, you can use websites or google maps to locate them, or a TV station locator tool.
Once you’re done with this, you’ll need to do the “most complicated” step of the entire procedure, which is to purchase an antenna, but not just any kind. You’ll need an OTA Antenna, and the range of it has to go a bit further than the farthest tower in your area. Not the closest, the farthest. The design of the antenna doesn’t make any difference, so purchase whichever seems the most appealing to you.

Mounting the new antenna
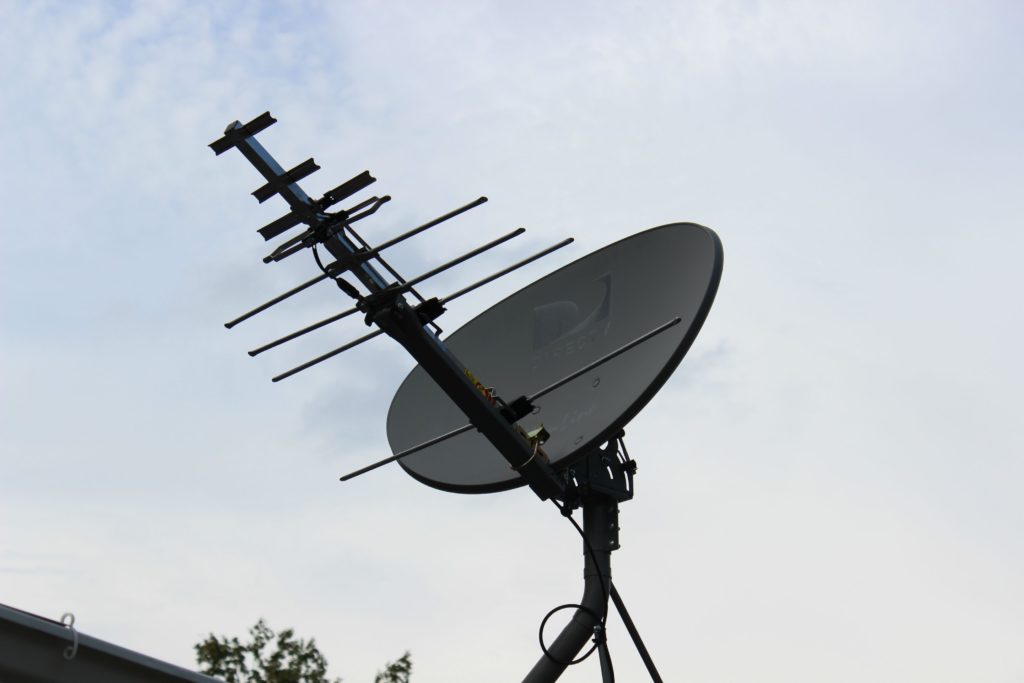
Once you’ve removed the dish and threw it in your backyard, it’s time to use the same post that held it, and mount your new antenna. We are not really sure what kind of an antenna you chose, but most come with a very simple and easy-to-use bracket, so you should have no trouble getting it on.
When you’re done with this, it’s time to take the entire thing and find the right place on your roof to mount everything in place, pointed at the direction of the local TV transmitter that you’ve previously discovered.
The coaxial cable
Now comes the part where you’ll put that cable you’ve saved to good use. Take it and use your toolbox to do any modifications if needed, which is highly unlikely, and connect it to the brand-new antenna that you’ve purchased. The other end of it goes directly in your TV device. When you’re done connecting things, if you’ve done properly and without any mistakes, you should be able to enjoy your free TV content. Of course, you’ll have to scan for the new channels first.
If things are not working
If you suddenly start experiencing some disruptions or a weak signal, it can be because of two things:
- You didn’t choose an antenna that has the required range.
- You probably damaged either the antenna or the cable during the removal procedure.
If it’s the first one, you can try and return it to the store, getting a refund and going to a new one to purchase a stronger version, if they don’t have one in the same store. If they do have a better version with broader range, pick that one up and you should have better results.
If it’s the second scenario, you’ll have to get a new cable and check if you’ve damaged something else in the procedure. If all else is fine, getting a new cable should fix your problem completely. If none of this works, try re-pointing your antenna and placing it higher on the roof, without any obstacles blocking it, such as trees or buildings.


