

Liquid silicone rubber can be used by anyone, it doesn’t really matter if you have had any previous experience with it or any professional knowledge about it. It is simply so versatile and easy to use that you can do anything you want with it. You can create various forms and molds that you can use to create products such as jewelry, rubber bracelets or whatever your niche is.
However, you can’t just go to your nearest hardware store and buy several canisters of silicone and hope that everything will go smoothly. To use it you will have to understand a few things regarding this subject. Things such as what type of liquid silicone to buy, which brand, how to mix it and a bunch of other information that will help you through the mold making process.
Use Epoxy Resin
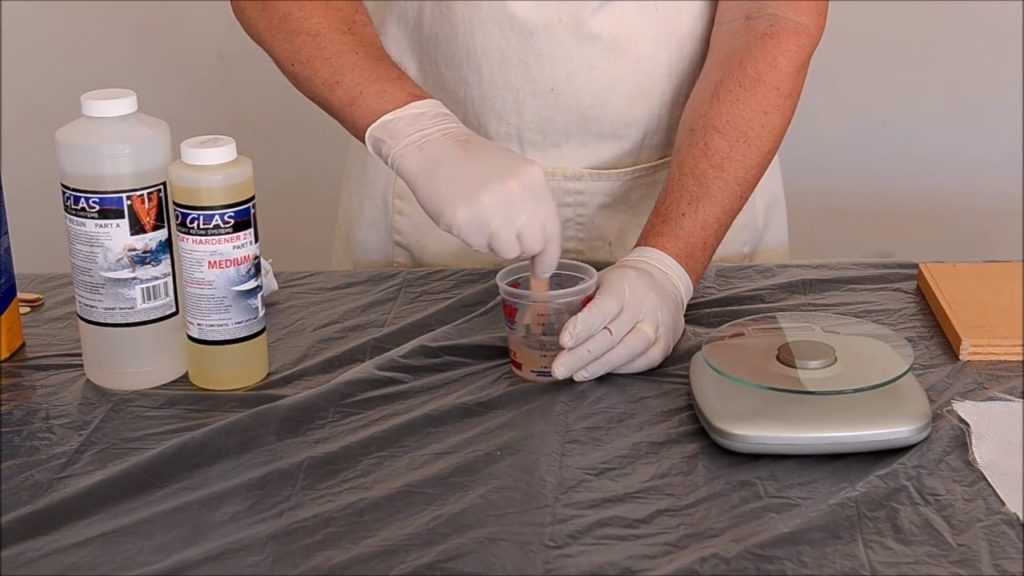
You probably have a reason why you want to create molds, right? You want to use them to create various items. The best material for filling in the liquid silicone molds has to be epoxy resin because it sticks quite nice to silicone and then it is easily removed after adding the hardener. Another great thing with epoxy resin is that you can mix it with a lot of different stuff which will provide you with different outcomes. You can add coloring, alcohol ink, acrylic or anything you can think of that may give color to the final product.
Once you have added the hardener, you can easily, but carefully release it from the mold.
Why are Silicon Molds the best option?
A lot of people wonder why you should use this type of mold since there are many other available out there on the market. The truth is that liquid silicone is very flexible and anything you add to it can easily be removed after it has cured. You won’t have to worry about getting stuck and ruining your final product.
Another benefit is that it is not toxic at all, so it’s safe to use it around children and there are no allergies regarding this material which is another great plus. It is used by beginners for a reason.
Hardness level
Before creating your own mold from this material it is important to understand the hardness levels of it. When you buy this compound from the hardware shop, its state of matter is similar to liquid and it is quite soft to the touch. Naturally, while in this state, you can’t do a lot with it. After curing the material it becomes harder and elastic. Although how elastic and how brittle it will heavily depend on how much hardener you are going to use. If it’s too hard, it won’t be as elastic and stretching it will show cracks which will make the products you make in the mold imperfect.
Working with liquid silicone is definitely not easy and takes a lot of time to master it. So, if you do not have a lot of free to learn how this process works, you can go to Qmolding official website if you want professional injection molding services.
So, if you want to create the perfect item, you will need to understand these degrees of hardness:
- 0 to 20 – this level of firmness gives you a lot of flexibility, but it is still soft which might prove difficult to work with.
- 20 to 40 – this will deliver you less flexibility, but the material will be very stable. It won’t stick to any surface, it won’t melt as easily and it won’t show any kind of cracks or fractures. This might be the most balanced level of firmness for a mold of this material.
- 40 to 80 – highest degrees of hardness which makes the mold very firm and not elastic at all. It can resist a lot of force and physical stress, but it is also quite brittle which means that the chances of cracks and fractures are much higher.
Which of these degrees you will need to use heavily depends on what type of project you have prepared. Of course, you can’t guess what kind of degree you will need to use right away, so you will probably have to do some tryouts as well. By going through this trial and error process you will start understanding what the different levels of hardness are used for.
When working with a softer silicone mold, you will probably need to accept the fact that it will probably tear because it has a very low level of brittleness. You won’t be able to reuse it. But, at least removing the workpiece from it will be very easy.
When working with a solid mold, you will need to be very careful when removing the workpiece, but only if you plan on reusing it. Its high brittleness increases the chances of it being broken during the removal process.
Creating the mold
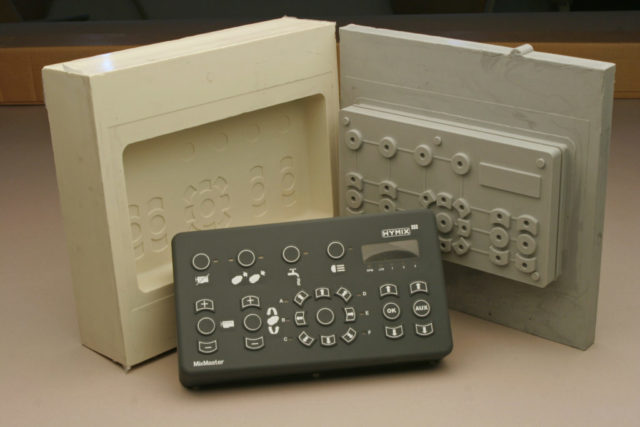
The first thing you will need to do to start the process of creating your own mold is to build a frame. You will need to make sure that the frame is tightly shut and that it is made from the right materials. If it is not tightly shut, the silicone might start leaking which will ruin the shape of the mold. Avoid using glass because you won’t be able to unstick the liquid silicone from it.
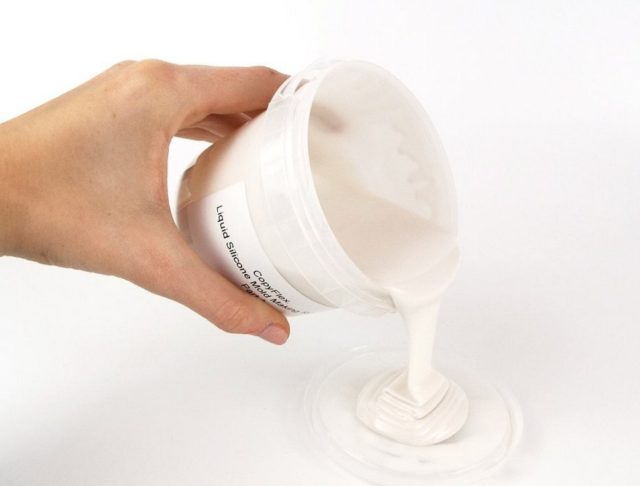
Your next step after building the frame is to start mixing the liquid silicone. You should use wood as a mixing tool, if you do not have one, you can use the back end of a painting brush. A few minutes of mixing will be more than enough.
After you are done mixing, spray the frame with oil. Before you spray it, make sure to check what kind of oil to use as some may damage the silicone and ruin your project. Slowly pour how much silicone you want, let it harden and then you can safely remove it. If it doesn’t work out the first time, you will still have enough of the material to try at least a few more times until you get it right.


