

Customizing your iPhone’s ringtone can add a personal touch to your device, making it uniquely yours. Whether you want to use your favorite song or a special sound as your ringtone, this step-by-step guide will show you how to set a custom bell using files on your iPhone. In this blog post, we’ll walk you through the process from start to finish, ensuring that you can easily follow along and enjoy a more personalized iPhone experience.
Check File Compatibility
Before you start the process of setting a custom ringtone as the ones you can find at RingtoneLine.com on your iPhone, it’s essential to understand that not all audio files are compatible with the iPhone’s tune feature. To save you time and frustration, let’s check file compatibility first.
Compatible file formats for iPhone ringtones include M4R, MP3, AAC, and WAV. If your bell file is in a different format, you may need to convert it. There are various online tools and software available to help you make this conversion.
Prepare Your Ringtone File
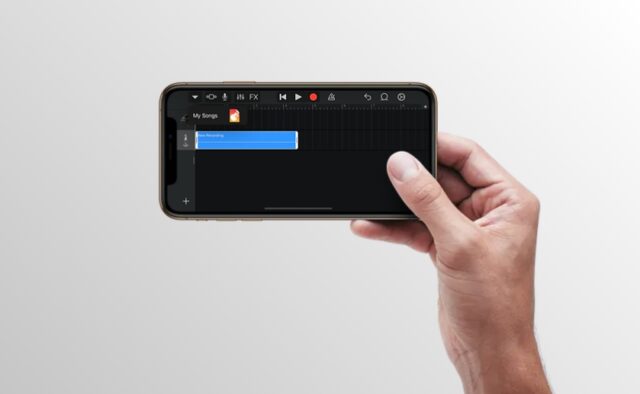
Now that you know which file formats work, it’s time to prepare your ringtone file. You have two options here: choose an existing tune file or create your own. Many websites offer a wide selection of pre-made bells, or you can use audio editing software to customize your own.
Once you have your ringtone file ready, you may want to trim it to the desired length. iPhone bells are typically around 30 seconds long, so be sure to edit your file accordingly.
Transfer the Ringtone to iPhone
To transfer your newly created or chosen tune to your iPhone, you’ll need to connect your device to a computer. Here’s how you can do it, whether you’re using a Windows PC or a Mac:
For Windows Users:
Connect your iPhone to your Windows PC using a USB cable.
Open iTunes if it doesn’t open automatically.
Click on the device icon in the upper-left corner.
Select “File Sharing” from the left sidebar.
Find your tune file on your computer and drag it into the “File Sharing” section for your iPhone.
For Mac Users:
Connect your iPhone to your Mac using a USB cable.
Open Finder.
Click on your iPhone under “Locations” in the Finder sidebar.
Select the “Files” tab.
Drag and drop your ringtone file into the “On My iPhone” section.
Set the Ringtone on iPhone
Once your tune file is transferred to your iPhone, setting it as your ring is a breeze:
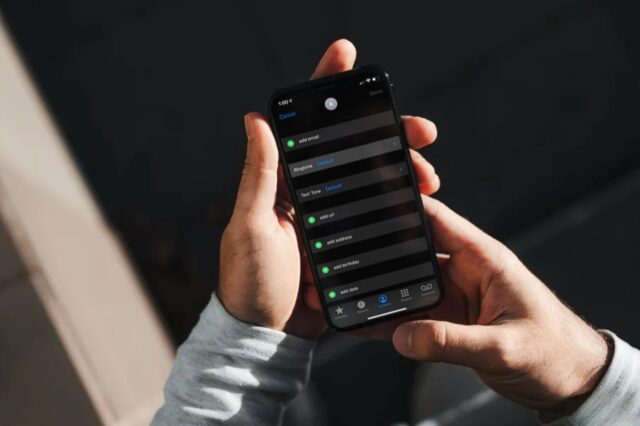
Open the “Settings” app on your iPhone.
Scroll down and tap “Sounds & Haptics.”
Under the “Sounds and Vibration Patterns” section, tap “Ringtone.”
You’ll find your custom one listed under “Ringtones.” Simply select it.
But what if your custom tune doesn’t appear? Don’t worry; we have a troubleshooting tip for you. Restart your iPhone, and then check the “Ringtone” section in the “Sounds & Haptics” settings again. If it’s still not there, double-check that you transferred the file correctly.
Customize Ringtone Settings
Now that you’ve successfully set your custom ringtone, it’s time to customize its settings to your liking:
Adjust the tune volume to your preferred level.
Set vibration options for calls and texts.
Assign specific ringtones to individual contacts for a personalized experience.
To assign a custom tune to a contact, follow these steps:
Open the “Contacts” app.
Select the contact you want to assign a unique sound to.
Tap “Edit” in the upper-right corner.
Scroll down and tap “Ringtone.”
Choose the custom tune you want to assign to that contact.


