

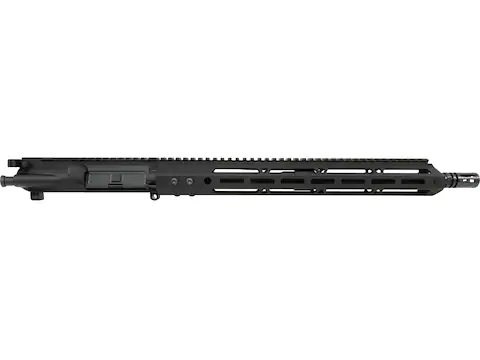
So, you want to build an AR? The main components of the rifle live in the upper receiver, as you probably know by now. If you need an upper receiver, learn more to get the ball rolling and then we can go into the basics of assembling one. Building one can be a little intimidating, so I want to take a moment to walk you through the process to help you make an AR that will function well and safely for a long time. In this piece, I’ll first list the parts and tools you’ll need. From there, we’ll get right to the process of building and some final notes on safety so that you can get up and running with your new AR soon.
In terms of parts, you’ll need:
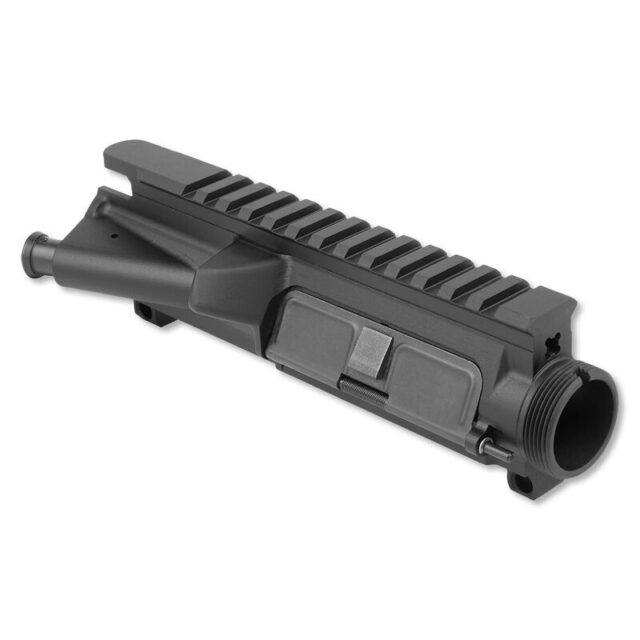
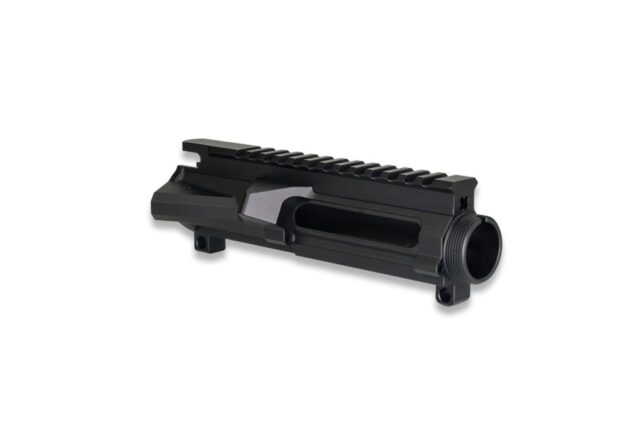
- An upper receiver (can be stripped or populated with a forward assist).
- A barrel (review state and federal laws about pistol VS rifle lengths for this and buy an appropriate, legal barrel)
- A Handguard
- A gas block
- A gas tube
- A charging handle
- A muzzle device
Tools you’ll need:
- An AR receiver block
- Vice (not 100% necessary, but worth it)
- A punch set
- A hammer
- Torque wrenches
- A feeler gauge
- One .225 headspace gauge
Now onto the process.
If you bought a stripped upper, the first step will be to put in the forward assist with a roll pin and the ejection port cover with a pin you slide in by hand with a spring in the middle. That sounds vague, but both vary widely by manufacturer, so a little more specific searching will help on that front.
Some barrels come with a gas block pre-installed. If that’s yours, skip this part. Otherwise, we’ll get to that in just a moment. Generally, barrels come with an indexing pin that will only allow you to screw them so far into the receiver and will line things up for the gas tube and port. Put just a little gun oil on the threads, and turn the barrel until that indexing pin stops any further rotation. Having the receiver in a block, and the block in a vice makes all of this easy.
Now, take your barrel nut, which likely came with either the barrel or receiver, and turn it to approximately 35lbs with your torque wrench. Some suggest doing this once, loosening it, and then doing it again to get a proper fit. That will have your barrel affixed to your AR for good, and with proper alignment for the gas tube.
Now, take your gas block and put the gas tube into it: there is a little hole in the tube that lines up with one in the block. Line those two up as you press them together. When the holes line up, take a press and gently tap the pin into the holes, mating the gas tube and block. For this, the vice is pretty useful once again.
Once that’s done, slide the gas block and tube assembly onto the barrel, lining up the gas tube with the hole in the top of the upper receiver, on top of the barrel nut. To perfectly align the gas block with the hole in the top of the barrel, take the feeler gauge and wedge it between the gas block and the shoulder of the barrel. When it’s aligned, tighten the gas block to manufacturer specifications with the necessary wrenches. With that, the hard part is largely over.
Handguards and barrel nuts vary widely, so instead of giving vague, and likely not terribly helpful instructions, I’ll tell you the real answer: read the documentation that came with your handguard carefully, and follow it to the letter. One tip I will give: use thread locker if you have to use bolts to mount your handguard to the barrel nut: this will keep everything nice and tight once the shock of recoil tries to work things loose.
As far as muzzle devices go, many come with crush washers. In that case, put the small side towards the barrel and tighten, again, in line with manufacturer specifications and keeping in mind that some thread locker is likely a good idea here.
From there, all you have to do is assemble the bolt carrier group, which is a manner of dropping in the bolt and cam pin, as well as the firing pin and its retainer. Give it some lubrication on all surfaces, then rest it into the charging handle and slide it into the back of the receiver.

Before taking your new AR upper to the range, take the headspace gauges out, and place the go gauge into the barrel. Ride the bolt carrier group forward: it should be flush with the back of the receiver. Do it again with the no-go-gauge. If the bolt is still flush, take your assembled upper to a gunsmith and have them look at it: a little bit of expense paying them will likely save you from serious injury.
These are basic instructions, and individual parts, and combinations of parts, will interact differently, and will likely require some more web searching to get perfect information. With that said, this general guide should show you that it’s possible to build your own AR without prior experience, and Primary Arms has a great selection of uppers that will meet your needs.


